

Project solutions
Apartment building
Mid-rise apartment blocks share one basement, one roof and one set of tanks, so a single leak affects many families. Wet areas stacked above each other make good under-tile waterproofing essential.

Solutions in build order
What this project needs, step by step
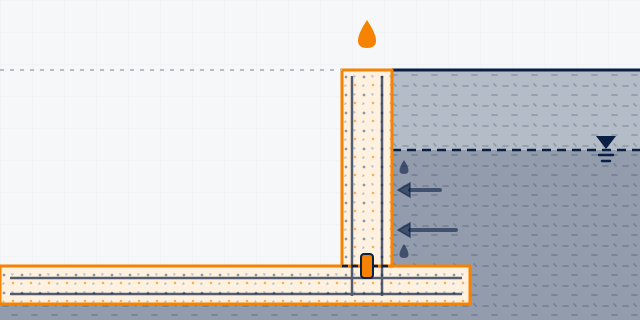 Waterproof (watertight) concrete
For basements, water tanks, pools and sewage works, make the concrete itself resist water with a low water–cement ratio, an integral waterproofing admixture and sealed construction joints. This is for new pours; it cannot fix a structure that already leaks.
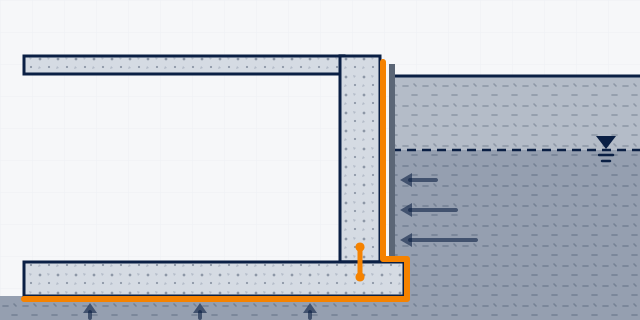 Basement waterproofing from outside (positive side)
For new basements, or where the soil can be dug away, stop water on the face that the soil and groundwater press against. Build watertight concrete, seal every joint, coat or sheet the outside face, then backfill carefully.
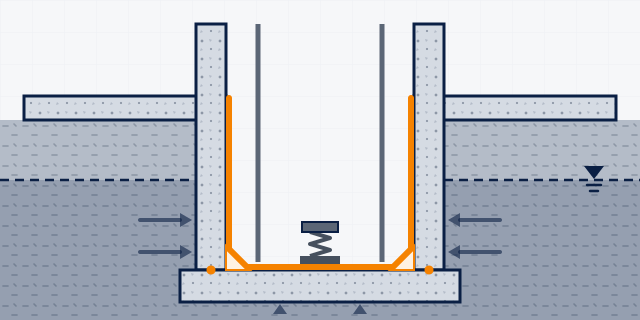 Lift pits and drainage sumps
Lift pits and drainage or sewage sumps are the lowest points in a building, so groundwater collects there. Build them watertight, seal the kicker joint, and line them with a slurry rated for water pressure.
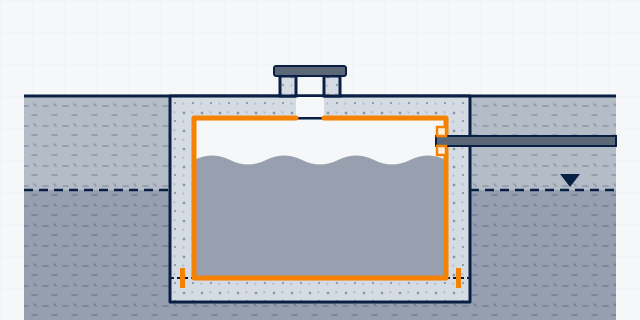 Underground water tank
Below-ground tanks leak out when full and let groundwater or dirty water seep in when empty. Plug and repair, then line the inside with a drinking-water coating; on new tanks, build watertight concrete and joints first.
 Bathroom waterproofing (under tiles)
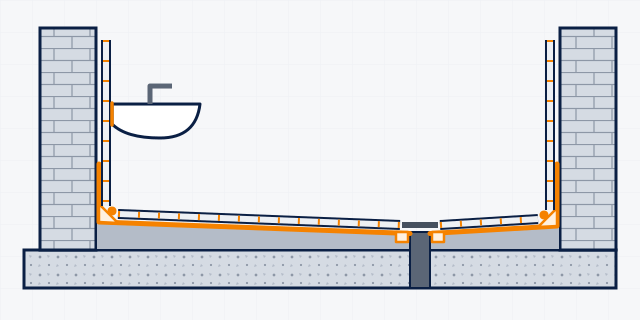
Most home leaks start in bathrooms: water gets through grout and cracks, runs along the slab and shows as seelan on the ceiling below or the wall next door. Strip, seal cracks, waterproof the floor and lower walls, then tile, grout and seal the fittings.
 Shower area & walk-in shower
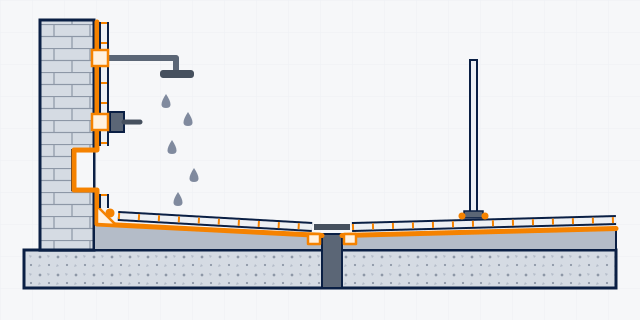
The shower is the wettest spot in the house: floor, walls, niche and drain are soaked every day. It needs a continuous waterproof layer from floor to wall, epoxy grout and a mildew-resistant sealant at every corner.
 Floor tiling (homes, shops and outdoor floors)
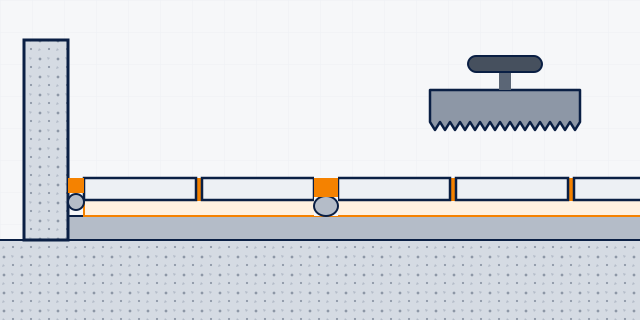
Fixing ceramic, porcelain and stone floor tiles indoors, on courtyards and terraces, on heated floors and in shops with heavy foot traffic. A flat, mature base and the right adhesive stop hollow, cracking and lifting tiles.
 Cement tile grout (everyday floors and walls)
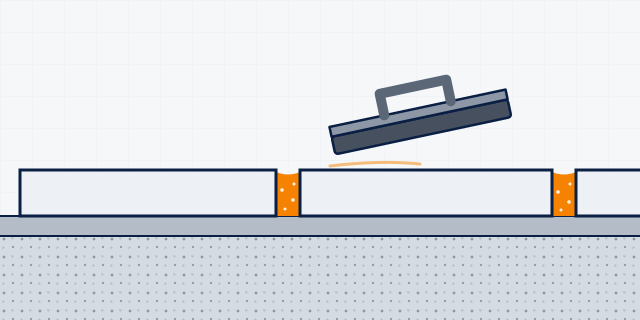
Coloured cement grout for ceramic, porcelain, marble, granite and mosaic joints, on floors and walls, inside and outside. In wet areas it is mixed with a latex instead of water.
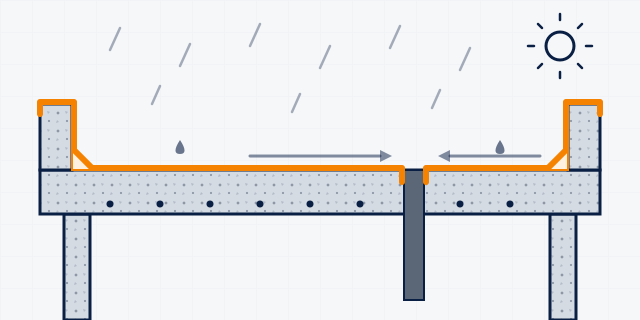 Exposed roof waterproofing
A liquid-applied membrane that stays open to sun and rain on a flat or sloped concrete roof (chhat). Use it on a new roof once the slab is 28 days old, or to refurbish a leaking roof before the monsoon.
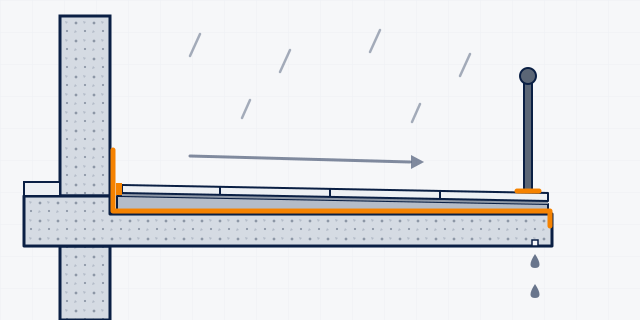 Terrace and balcony waterproofing
Balconies, terraces and open verandas that people walk on, usually finished with tiles. The waterproofing goes under the tile bed and turns up at walls, door thresholds and drains.
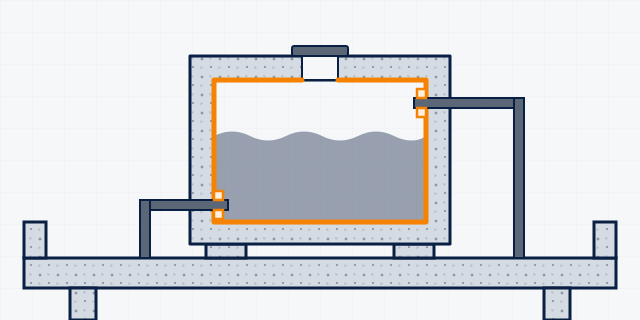 Overhead water tank (drinking water)
Rooftop RCC tanks that leak, wet the ceiling below or show rust stains. Repair the concrete first, then line the inside only with products whose data sheet allows drinking-water contact.
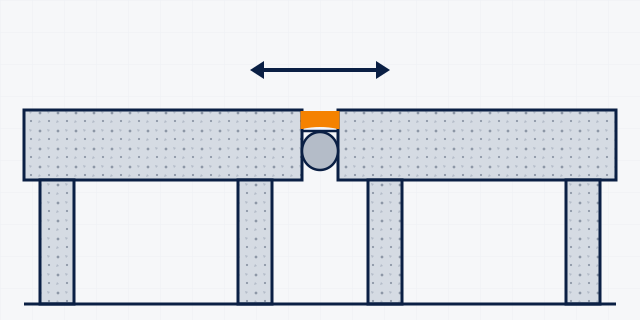 Building expansion and movement joints
The gaps between building blocks, slabs, walls and roofs that let the structure expand, shrink and settle. They need a sealant or tape matched to the movement, a correctly sized joint and a backer rod, or water gets in and edges break.
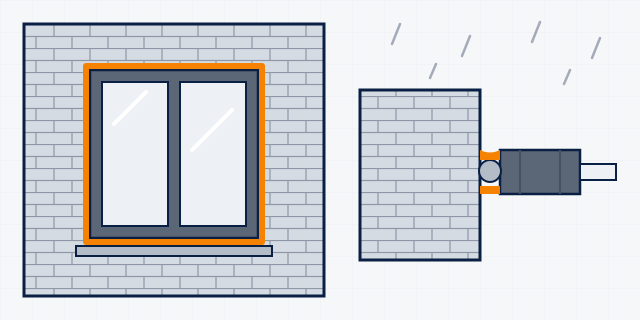 Window and door frame sealing
Sealing the gap between aluminium, uPVC, steel or timber frames and the wall, plus glass-to-frame and interior finishing joints. This is a common place for monsoon rain to get into a home.