

Project solutions
House / villa
Pakistani homes leak mostly at the roof, bathrooms, water tanks and external walls. Waterproofing done in the right order during construction avoids breaking finished tiles later.
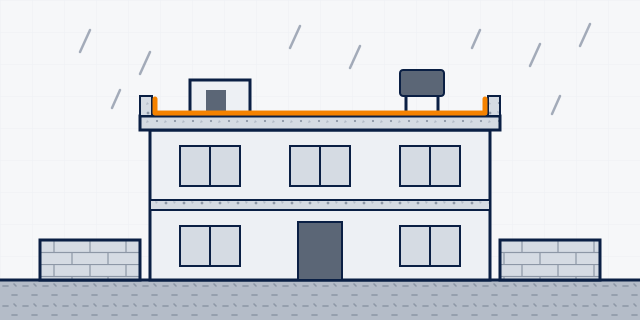
Solutions in build order
What this project needs, step by step
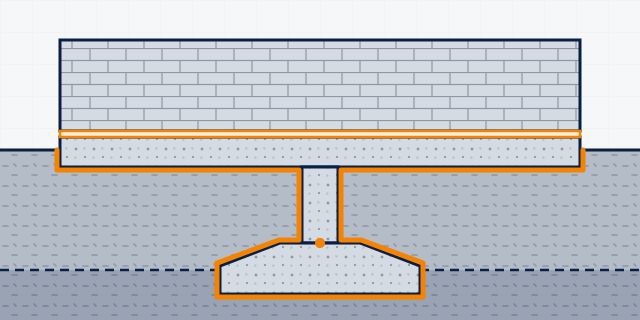 Foundations, footings and plinth
Protect footings, column stubs and plinth beams against groundwater and aggressive soil, and stop damp rising into the walls above. This is done during construction, before backfilling.
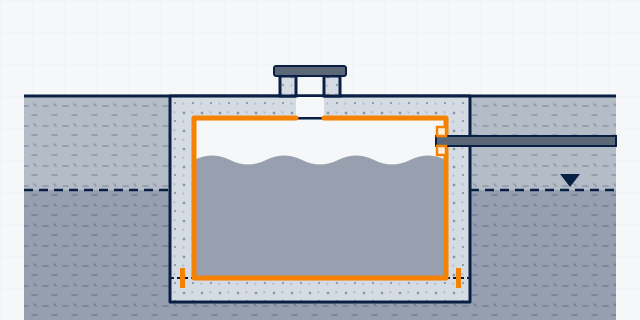 Underground water tank
Below-ground tanks leak out when full and let groundwater or dirty water seep in when empty. Plug and repair, then line the inside with a drinking-water coating; on new tanks, build watertight concrete and joints first.
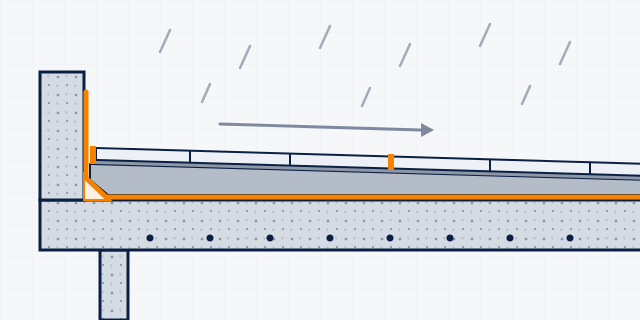 Roof waterproofing under screed or tiles
Waterproofing that is hidden under a protective screed, brick tiles or floor tiles on a flat roof. Use it when you re-do a traditional roof finish or turn the roof into a usable terrace.
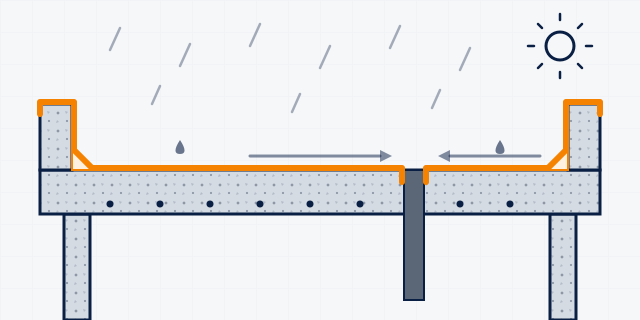 Exposed roof waterproofing
A liquid-applied membrane that stays open to sun and rain on a flat or sloped concrete roof (chhat). Use it on a new roof once the slab is 28 days old, or to refurbish a leaking roof before the monsoon.
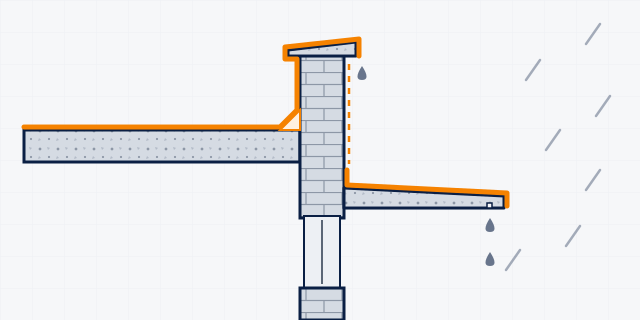 Parapets, copings and chajjas
Parapet walls, copings and chajjas (concrete sunshades and projections) take rain on three sides. Leaks here show up as damp on the walls below, broken edges and rust stains.
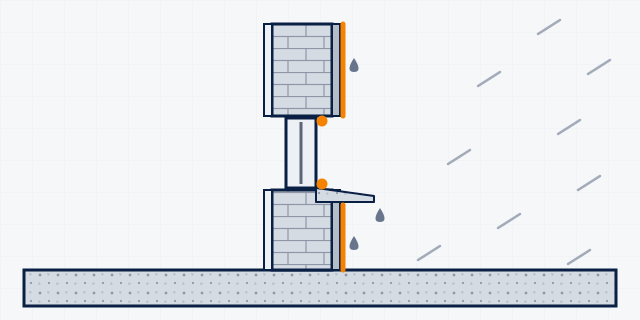 Damp external walls (rain penetration)
Rain soaking through brick walls, cracked plaster or open joints around windows causes seelan and peeling paint inside. This guide covers walls above ground. For damp rising from the floor, see the rising-damp guide.
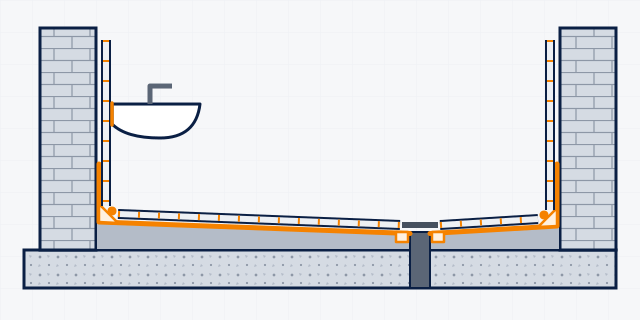 Bathroom waterproofing (under tiles)
Most home leaks start in bathrooms: water gets through grout and cracks, runs along the slab and shows as seelan on the ceiling below or the wall next door. Strip, seal cracks, waterproof the floor and lower walls, then tile, grout and seal the fittings.
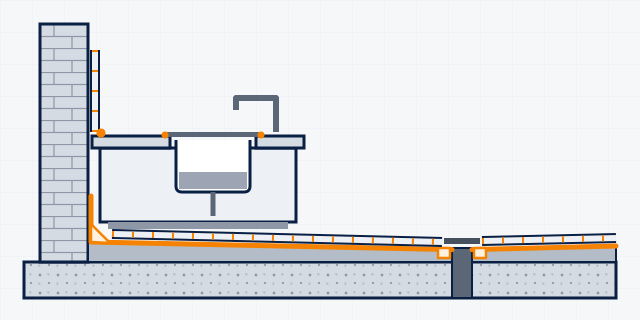 Kitchen floors, sinks & wash areas
Kitchens get water, grease, food acids and cleaning chemicals at the sink, dishwash and cooking line. Home kitchens need sound tiling and mildew-resistant sealing; commercial kitchens also need waterproofing under the tiles and chemical-resistant epoxy grout.
 Wall tiling (rooms, kitchens and bathrooms)
Fixing ceramic, porcelain, mosaic and marble tiles on internal walls. Choose the adhesive by the wall behind the tile (cement plaster, concrete, brick or gypsum) and by whether the wall gets wet.
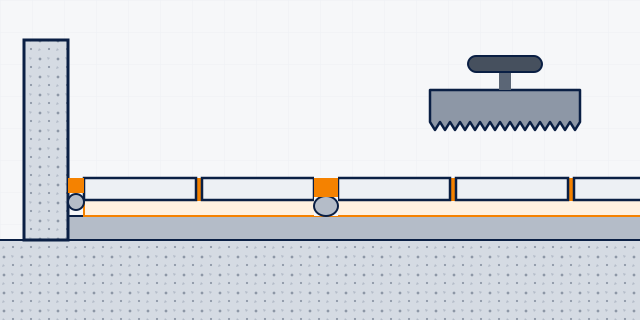 Floor tiling (homes, shops and outdoor floors)
Fixing ceramic, porcelain and stone floor tiles indoors, on courtyards and terraces, on heated floors and in shops with heavy foot traffic. A flat, mature base and the right adhesive stop hollow, cracking and lifting tiles.
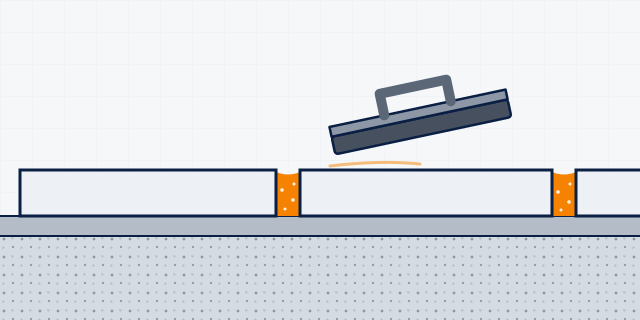 Cement tile grout (everyday floors and walls)
Coloured cement grout for ceramic, porcelain, marble, granite and mosaic joints, on floors and walls, inside and outside. In wet areas it is mixed with a latex instead of water.
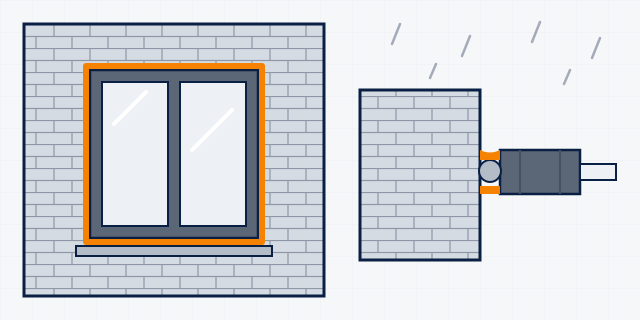 Window and door frame sealing
Sealing the gap between aluminium, uPVC, steel or timber frames and the wall, plus glass-to-frame and interior finishing joints. This is a common place for monsoon rain to get into a home.
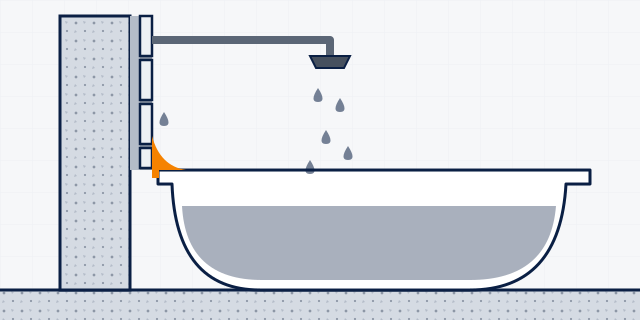 Sanitary sealing (baths, basins, showers and kitchen tops)
Silicone joints where tiles meet baths, shower trays, basins, WCs and kitchen worktops. Choose a mildew-resistant sealant that suits the surface, and reseal before water gets behind the tiles.
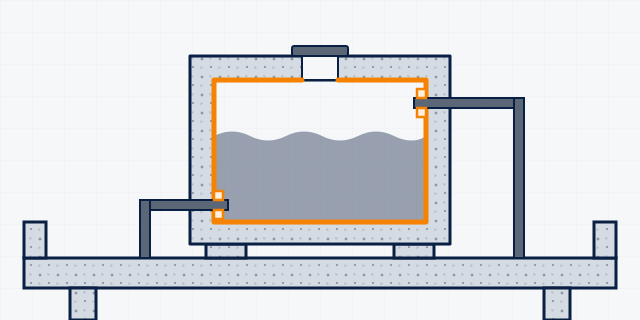 Overhead water tank (drinking water)
Rooftop RCC tanks that leak, wet the ceiling below or show rust stains. Repair the concrete first, then line the inside only with products whose data sheet allows drinking-water contact.