
Skip to content
Product finder

Tile Debonding

Tiles coming loose — Hollow-sounding or cracked tiles, failed tile bond. Show 4 products ↓

  1. Step 1 (completed)Tiles coming loose
  2. ResultProducts & systems

Project type: Warehouse / logistics Clear ✕

Your products are below

For this problem the location does not change the recommendation.

Your selection

Problem
Tiles coming loose
Location
Any
Products
4
Ask on WhatsApp Start again
Products for this problem

Matching products (4)

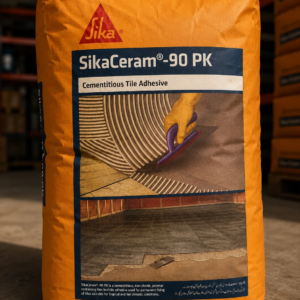
SikaCeram®-90 PK

SikaCeram®-90 PK

Sika Confirm availability

Why: SikaCeram®-90 PK is suitable for fixing: Wall and floor tiles, Insulation and acoustic tiles, Marbles and terrazzo tiles. (TDS p.1)

  • High bond strengths
  • Easy to use, just add water
  • Excellent workability
Surfaces
concrete · masonry · mortar · tiles/ceramic
Pack
20 kg & 40 kg bag
System
Tile Installation
⚠ 3 limitations to check
  • All technical and mixing tools should be cleaned with water while material is still fresh.
  • Hardened material can only be removed mechanically.
  • SikaCeram®-90 PK should not be used directly on gypsum or gypsum board substances.
TDS p.2
SikaCeram®-205 PK

SikaCeram®-205 PK

Sika Confirm availability

Why: SikaCeram®-205 PK has following uses: Laying all kind of ceramic tiles, even grès porcelain in large size, Laying marbles and natural stone, provided not sensitive to water, Indoor walls and floors, outdoor floors. (TDS p.1)

  • CE Classified C2TE
  • Extended open time - Class E
  • Very good adhesion to most common substrates (concrete, cementitious mortar, stone, bricks, existing tiles etc.)
Surfaces
concrete · mortar · glass · tiles/ceramic · natural stone
System
Tile Installation
⚠ 3 limitations to check
  • Cementitious substrates must be at least 28 days old.
  • Do not exceed the recommended water dosage.
  • Apply only to sound, prepared substrate.
TDS p.2
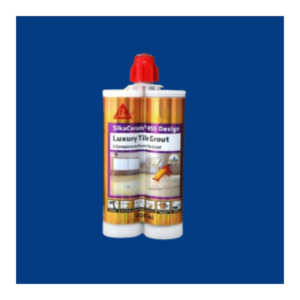
SikaCeram®-850 Design

SikaCeram®-850 Design

Sika Confirm availability

Why: Grouting tiles for the following interior residential and commercial building applications: Wet rooms, Shopping malls, Hospitals. (TDS p.1)

  • Grout Joint range: 2–15 mm
  • Easy application using cartridge gun
  • 2-part double side-by-side cartridge with static mixer nozzle
Surfaces
tiles/ceramic
Pack
400 ml double side-by-side cartridge
System
Tile Installation
⚠ 3 limitations to check
  • Always perform a test on cleanability and staining before grouting any type of cladding with an absorbent or porous surface.
  • Always perform a preliminary test when requiring a colour contrast between grout and tiles.
  • Do not add anything to the product that is not specified in this Product Data Sheet.
TDS p.2

Product facts on these cards are taken from the manufacturer data sheets (page cited on each card) and are being reviewed by our technical team. Always check the data sheet before use.

Step-by-step

Follow a complete solution

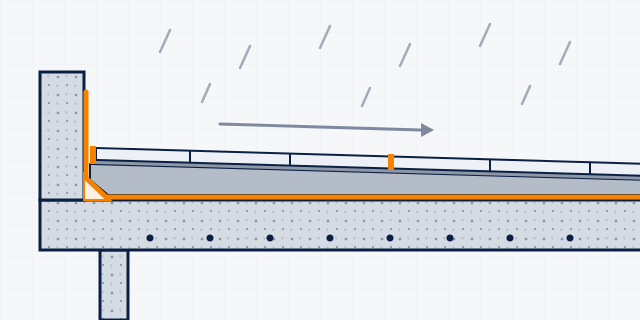
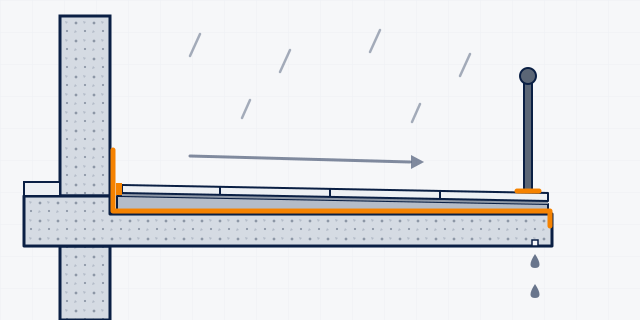
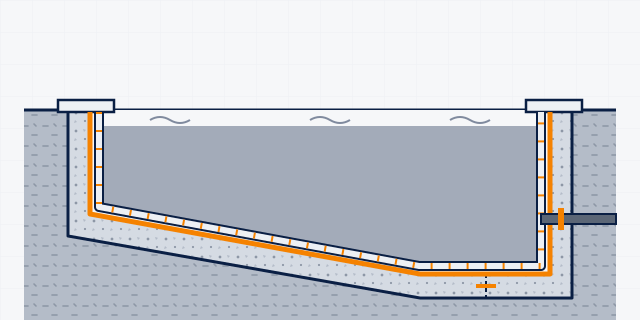
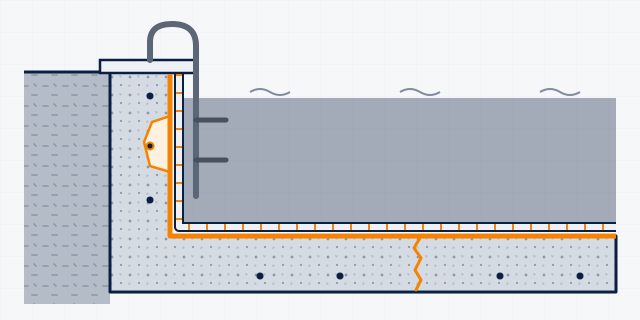
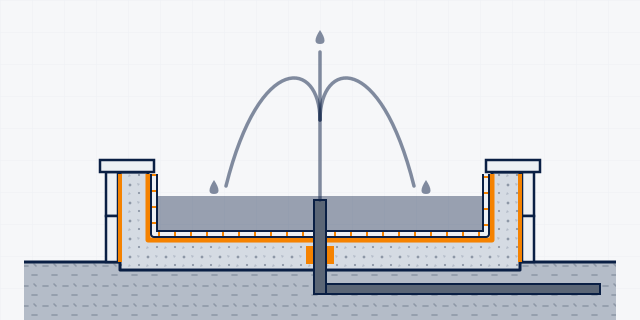
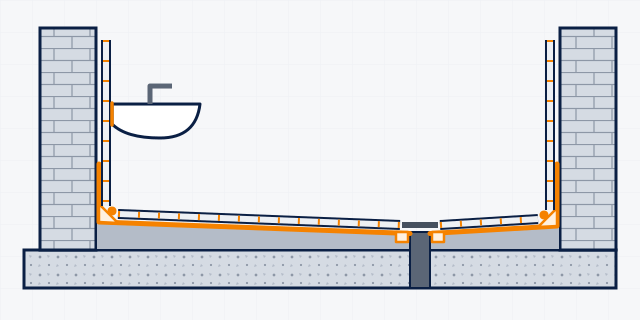
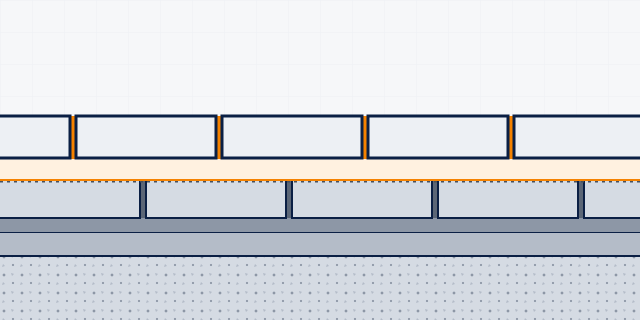
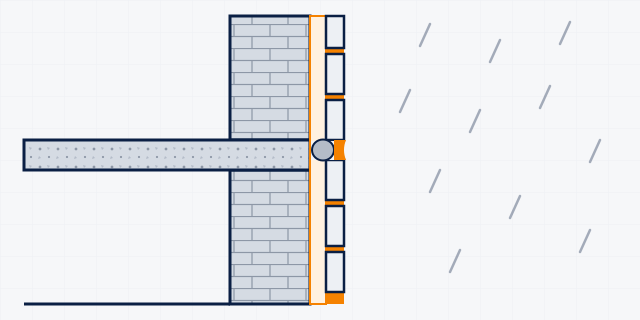
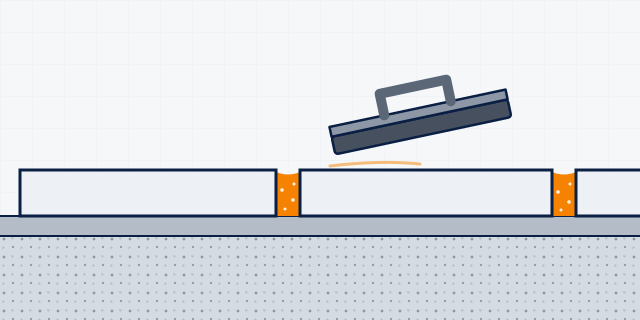
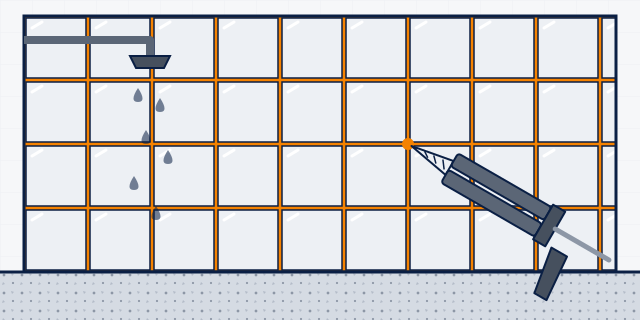
Roof section: slab, waterproof coat turned up the parapet, sloped screed, then tiles with sealed joints. Roof waterproofing under screed or tiles Waterproofing that is hidden under a protective screed, brick tiles or floor tiles on a flat roof. Use it when you re-do a traditional roof finish or turn the roof into a usable terrace. 6 steps Balcony section with a waterproof coat under the screed and tiles, turned up the wall, and a railing post. Terrace and balcony waterproofing Balconies, terraces and open verandas that people walk on, usually finished with tiles. The waterproofing goes under the tile bed and turns up at walls, door thresholds and drains. 6 steps Section of a new concrete swimming pool with waterproof coating and tiles on the inside, a sealed pipe and a floor joint New swimming pool (concrete shell) Build the pool shell watertight from day one: waterproof concrete, sealed joints and pipe entries, a cementitious waterproof coating, then pool-rated tile adhesive and grout. A structural engineer designs the shell itself. 7 steps Close-up of a repaired pool wall and floor with a mortar patch, sealed crack, new waterproof coating and new tiles Leaking or damaged swimming pool Older pools lose water through cracks, joints, pipe entries and failed grout, and tiles start to drum or fall off. Find the leak, repair the shell, renew the waterproofing and re-tile with pool-rated products. 6 steps Section of a fountain basin with a water jet, waterproofed and tiled inside, stone clad outside, with a sealed pipe Fountains, water features & ornamental ponds Decorative fountains, water walls and ornamental ponds lose water through cracks, joints and pipe entries, and stone cladding stains. Seal the basin with a cementitious waterproof coating, then fix tiles or stone with water-resistant products. 6 steps Section of a bathroom floor with waterproofing turned up the walls under the tiles, sloping to a floor drain Bathroom waterproofing (under tiles) Most home leaks start in bathrooms: water gets through grout and cracks, runs along the slab and shows as seelan on the ceiling below or the wall next door. Strip, seal cracks, waterproof the floor and lower walls, then tile, grout and seal the fittings. 6 steps
See all 17 step-by-step guides
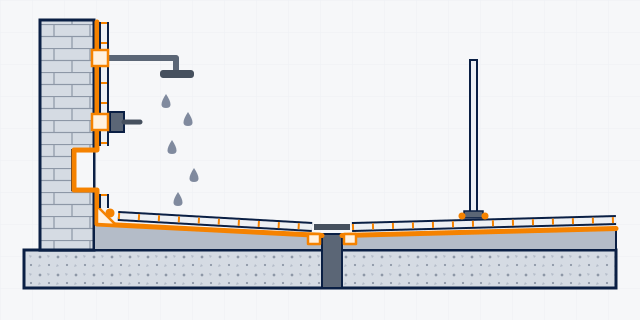
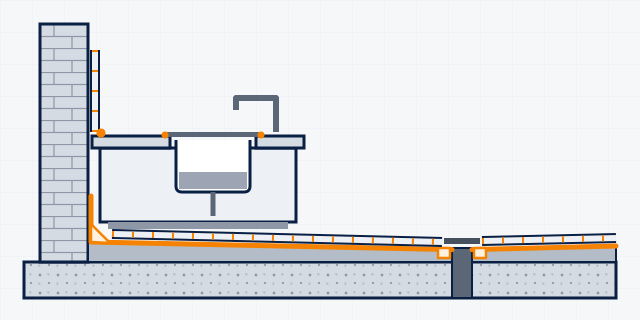
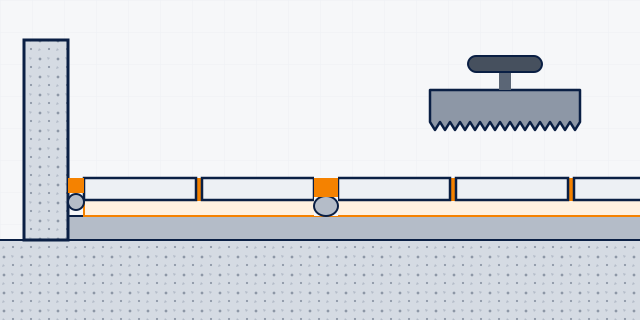
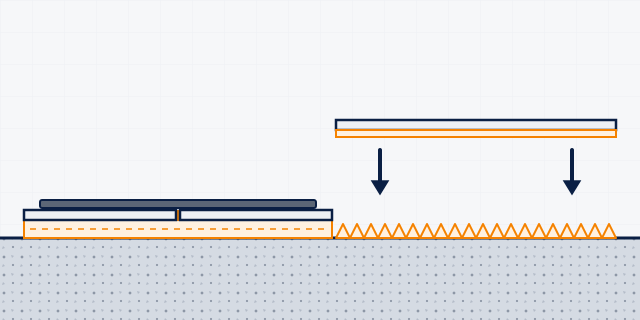
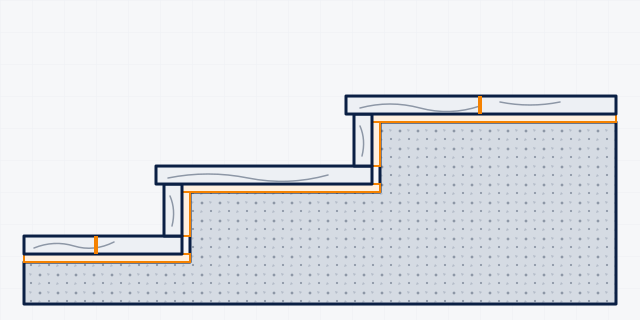
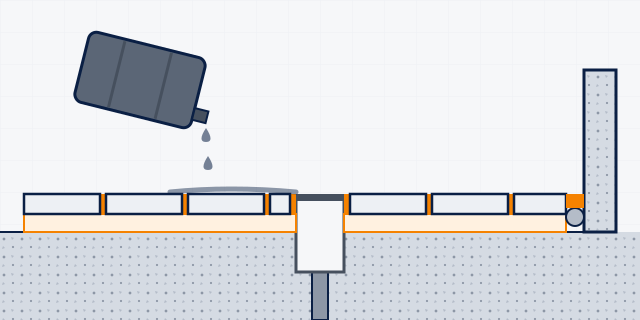
Section of a walk-in shower with full-height waterproofing behind the tiles, sealed pipes, a drain and a glass screen Shower area & walk-in shower The shower is the wettest spot in the house: floor, walls, niche and drain are soaked every day. It needs a continuous waterproof layer from floor to wall, epoxy grout and a mildew-resistant sealant at every corner. 6 steps Section of a kitchen with a sink counter, tiled splash-back, sealed worktop edges and waterproofed tiled floor with drain Kitchen floors, sinks & wash areas Kitchens get water, grease, food acids and cleaning chemicals at the sink, dishwash and cooking line. Home kitchens need sound tiling and mildew-resistant sealing; commercial kitchens also need waterproofing under the tiles and chemical-resistant epoxy grout. 5 steps Tiled wall shown cut through and from the front, with an orange adhesive bed behind the tiles and orange grout lines Wall tiling (rooms, kitchens and bathrooms) Fixing ceramic, porcelain, mosaic and marble tiles on internal walls. Choose the adhesive by the wall behind the tile (cement plaster, concrete, brick or gypsum) and by whether the wall gets wet. 7 steps Floor tiles on an orange adhesive bed over screed and slab, with sealed movement joints and a notched trowel above Floor tiling (homes, shops and outdoor floors) Fixing ceramic, porcelain and stone floor tiles indoors, on courtyards and terraces, on heated floors and in shops with heavy foot traffic. A flat, mature base and the right adhesive stop hollow, cracking and lifting tiles. 7 steps Large thin porcelain slabs on a full orange adhesive bed, and the next slab with buttered back lowered onto ridged adhesive Large-format porcelain tiles and slabs Porcelain tiles of 60 × 60 cm and larger, on floors and walls. They need a flat base, a C2TE flexible adhesive and full bedding by back-buttering, or they ring hollow and crack. 7 steps Concrete stair in section clad with veined marble treads and risers set on an orange adhesive bed Marble, granite and natural stone Fixing, grouting, sealing and cleaning marble, granite and other natural stone on floors, stairs and walls. Stone can be sensitive to water, acids and staining, so test first and choose each product with that in mind. 6 steps Two layers of floor tiles, old grey tiles below and new tiles on an orange adhesive bed above with orange grout Tiling over old tiles (tile-on-tile) Laying new tiles straight over sound old tiles, saving the noise, dust and time of breaking them out. It only works if the old tiles are firmly bonded and properly prepared. 6 steps Outside wall in section with tiles on orange adhesive and a sealed movement joint at floor level, with rain falling External wall and facade tiles Ceramic, brick-slip and stone-look tiles on outside walls face sun, rain and building movement. Use an adhesive whose data sheet allows outdoor walls, grout for exterior use, and seal the facade movement joints. 6 steps Close-up of floor tiles with joints filled with orange sandy grout and a rubber grout float above Cement tile grout (everyday floors and walls) Coloured cement grout for ceramic, porcelain, marble, granite and mosaic joints, on floors and walls, inside and outside. In wet areas it is mixed with a latex instead of water. 6 steps Tiled shower wall with orange grout lines, falling water, and a cartridge gun filling a joint Epoxy tile grout (showers, kitchens, hospitals) Two-part epoxy grout from a cartridge gun gives stain-resistant, easy-clean joints in wet rooms, kitchens, malls, hospitals and indoor pools. It is for interior use, and the tile face needs protecting during grouting. 7 steps Factory floor tiles on orange epoxy bed and grout, a drain in the floor, and liquid dripping from a tipped drum Chemical-resistant tile grout and bedding Tiled floors and walls in food plants, dairies, labs, industrial kitchens, plant rooms and thermal or salt-water pools need epoxy bedding and grout that resist acids, cleaning agents and wash-down. These are specialist systems. 6 steps
Recommended system

Complete systems that solve it

Advice

Not sure which one fits your site?

Send us the condition, the area and the surface. Your selection is already in the message.