
Sika®-101h
Sika Confirm availability
Cement-Based Crystalline Capillary Waterproofing Coating
Data sheet details on request.


Popular: Sikaflex · waterproofing · grout · data sheets
Water leakage & seepage — Damp walls, seelan, leaking basements, tanks or bathrooms. Show 14 products ↓
Project type: Dam / canal / irrigation Clear ✕
For this problem the location does not change the recommendation.
Cement-Based Crystalline Capillary Waterproofing Coating
Data sheet details on request.
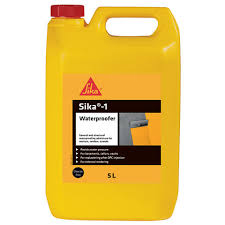
Normal-Setting Liquid Integral Waterproofing Admixture
Data sheet details on request.

Why: SikaControl®-760 should be used in all structural concrete that is constantly or intermittently in contact with water such as sea walls, tunnels, basements, structural and precast concrete. SikaControl®-760 can also be used as crystalline waterproofing admixture for cement mortars and plasters. To waterproof structures such as: Water tanks, Reservoirs, Building Basements & foundations, Swimming pools and water parks. (TDS p.1)
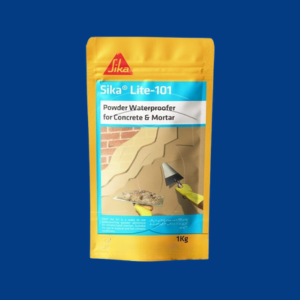
Why: Sikalite®-101 PK is used to waterproof cement/sand mortars, screeds and renders for walls, facades, floor toppings and jointing mortars. (TDS p.1)
Hydro-Swelling Waterbar for Cold Joints
Data sheet details on request.
Two-Component Polysulphide Floor-Joint Sealant
Data sheet details on request.
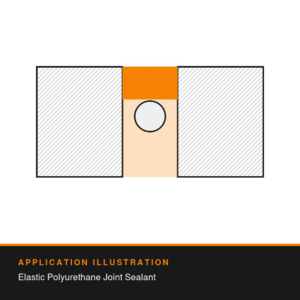
Elastic Polyurethane Joint Sealant
Data sheet details on request.
Elastic Polyurethane Joint Sealant
Data sheet details on request.

Why: SikaSeal®-105 PK is used as an economical and easy to use as waterproofing slurry both for external and internal applications. SikaSeal®-105 PK is suitable for the following applications: Water and sewage works, such as tanks and manholes, Basements and lift pits, Retaining walls and bridge structures. (TDS p.1)
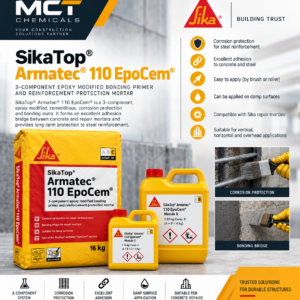
Three-Component Epoxy-Cement Bonding Primer & Reinforcement Corrosion Protection
Data sheet details on request.
Cement-Based Capillary Crystalline Waterproofing Material
Data sheet details on request.
Why: For external and internal waterproofing, on concrete, mortar, brickwork, and steel in: Basements, Swimming pools, Water tanks. (TDS p.1)
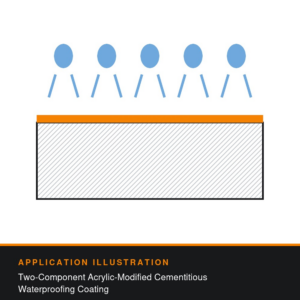
Why: As a waterproof lining for water retaining structures. (TDS p.1)
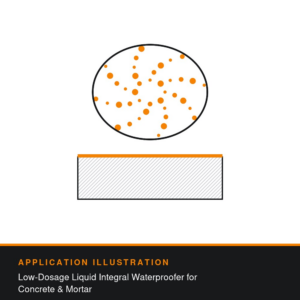
⚠ Under review: TDS describes an admixture for new concrete, not for repairing an existing leak (06 F1).
Low-Dosage Liquid Integral Waterproofer for Concrete & Mortar (formerly Sika Pel-707 / MasterPel 707)
Data sheet details on request.
Product facts on these cards are taken from the manufacturer data sheets (page cited on each card) and are being reviewed by our technical team. Always check the data sheet before use.
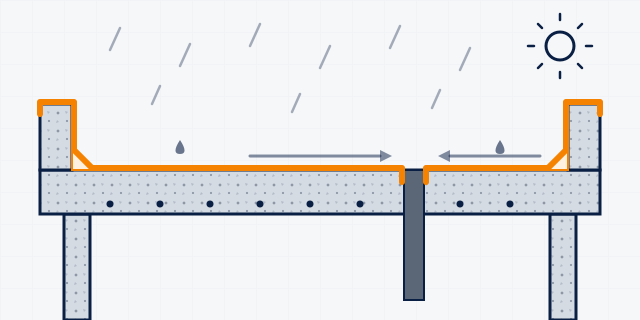 Exposed roof waterproofing
A liquid-applied membrane that stays open to sun and rain on a flat or sloped concrete roof (chhat). Use it on a new roof once the slab is 28 days old, or to refurbish a leaking roof before the monsoon.
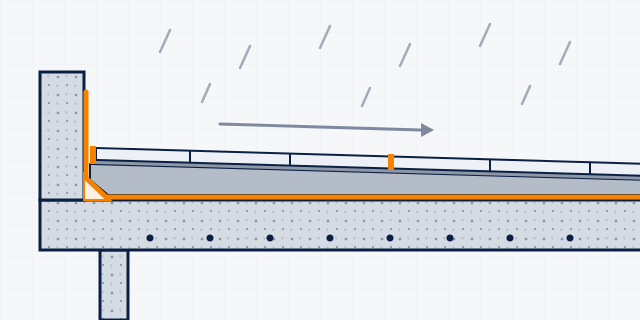 Roof waterproofing under screed or tiles
Waterproofing that is hidden under a protective screed, brick tiles or floor tiles on a flat roof. Use it when you re-do a traditional roof finish or turn the roof into a usable terrace.
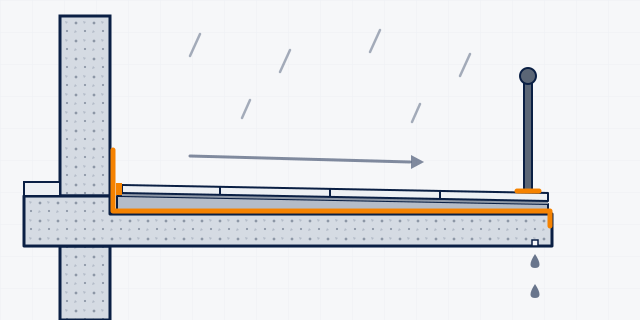 Terrace and balcony waterproofing
Balconies, terraces and open verandas that people walk on, usually finished with tiles. The waterproofing goes under the tile bed and turns up at walls, door thresholds and drains.
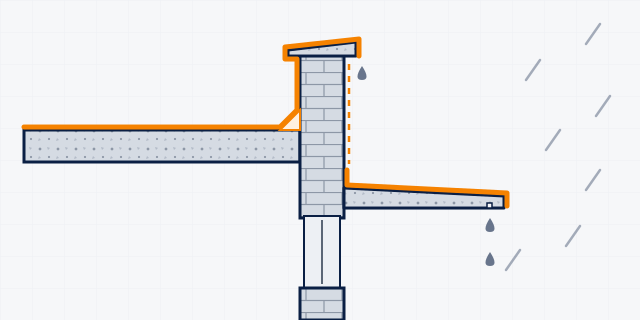 Parapets, copings and chajjas
Parapet walls, copings and chajjas (concrete sunshades and projections) take rain on three sides. Leaks here show up as damp on the walls below, broken edges and rust stains.
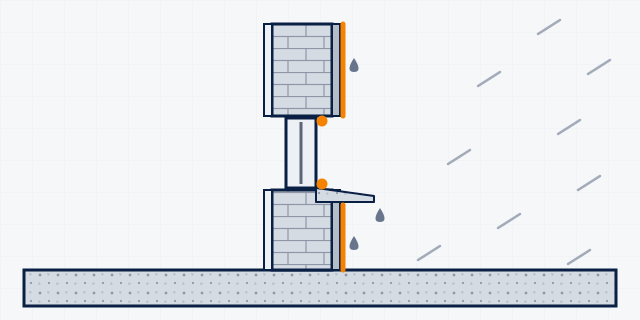 Damp external walls (rain penetration)
Rain soaking through brick walls, cracked plaster or open joints around windows causes seelan and peeling paint inside. This guide covers walls above ground. For damp rising from the floor, see the rising-damp guide.
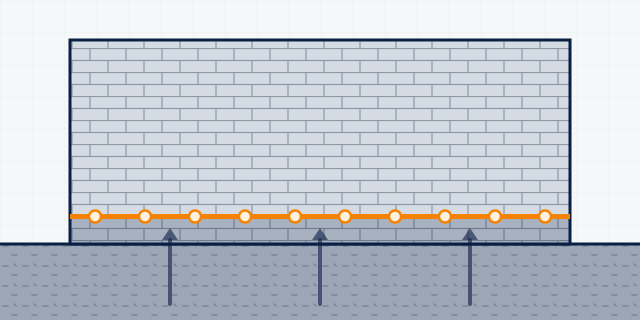 Rising damp in walls
Ground moisture rising up masonry walls that have no damp-proof course, or a failed one, causes seelan, salts and peeling paint near the floor. The fix is a new chemical damp-proof course injected into a mortar joint, followed by re-plastering.
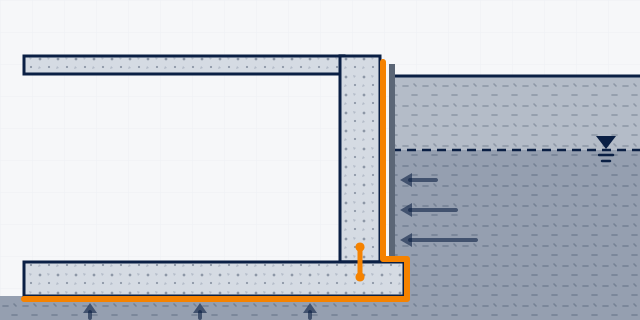 Basement waterproofing from outside (positive side)
For new basements, or where the soil can be dug away, stop water on the face that the soil and groundwater press against. Build watertight concrete, seal every joint, coat or sheet the outside face, then backfill carefully.
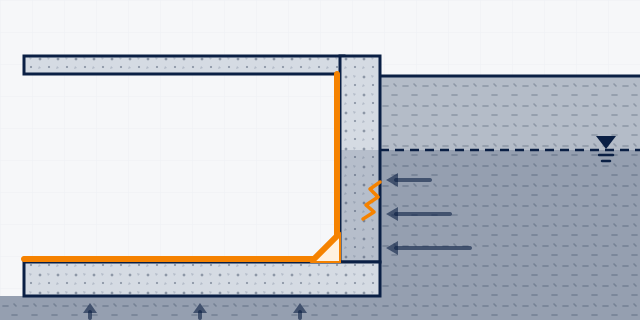 Basement waterproofing from inside (negative side)
In an existing basement where the outside cannot be dug out, water is stopped on the inside face. Plug active leaks, inject leaking cracks, then apply a cement-based coating that works against water pressure from behind.
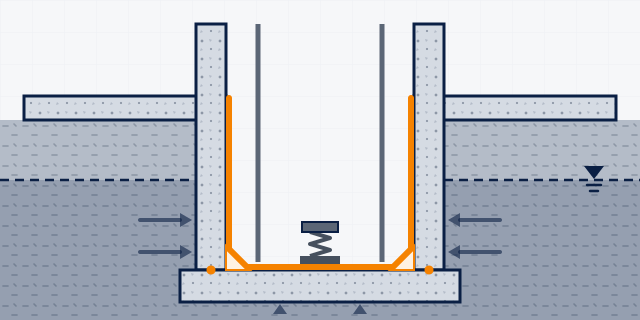 Lift pits and drainage sumps
Lift pits and drainage or sewage sumps are the lowest points in a building, so groundwater collects there. Build them watertight, seal the kicker joint, and line them with a slurry rated for water pressure.
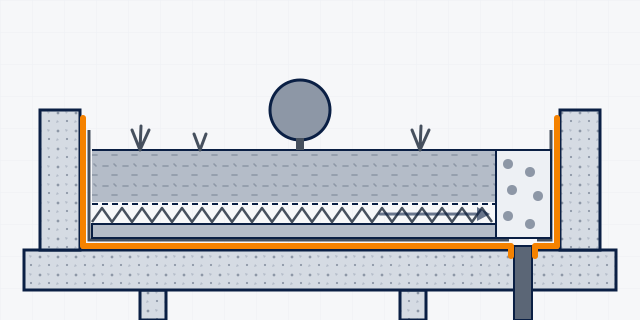 Green roofs, roof gardens and planters
Roof gardens, landscaped decks and built-in concrete planters stay wet under soil for years, so the waterproofing must be done before any soil goes in. The data sheets we hold cover bitumen and cement-based layers; ask us about root barriers and dedicated green-roof systems.
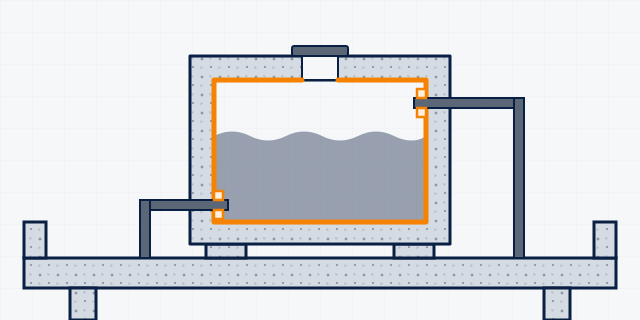 Overhead water tank (drinking water)
Rooftop RCC tanks that leak, wet the ceiling below or show rust stains. Repair the concrete first, then line the inside only with products whose data sheet allows drinking-water contact.
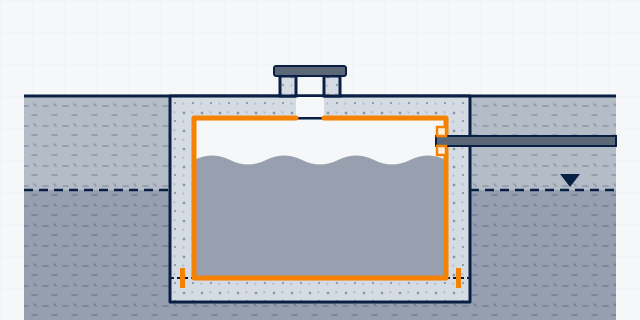 Underground water tank
Below-ground tanks leak out when full and let groundwater or dirty water seep in when empty. Plug and repair, then line the inside with a drinking-water coating; on new tanks, build watertight concrete and joints first.
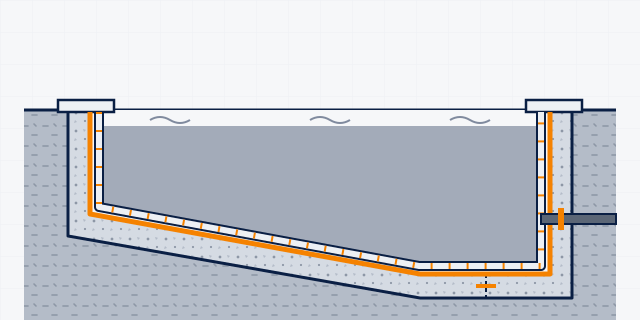 New swimming pool (concrete shell)
Build the pool shell watertight from day one: waterproof concrete, sealed joints and pipe entries, a cementitious waterproof coating, then pool-rated tile adhesive and grout. A structural engineer designs the shell itself.
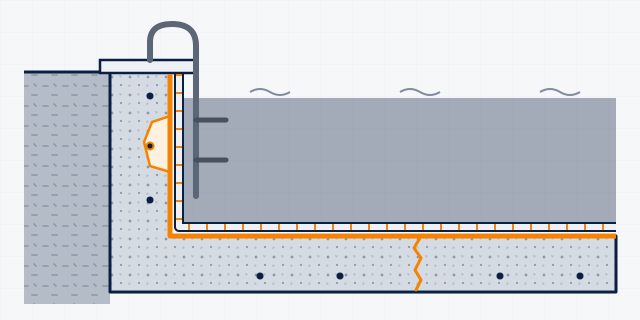 Leaking or damaged swimming pool
Older pools lose water through cracks, joints, pipe entries and failed grout, and tiles start to drum or fall off. Find the leak, repair the shell, renew the waterproofing and re-tile with pool-rated products.
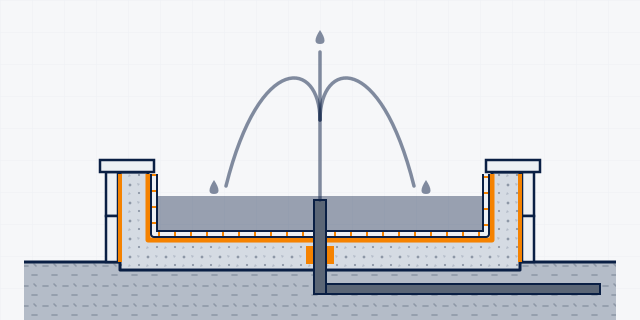 Fountains, water features & ornamental ponds
Decorative fountains, water walls and ornamental ponds lose water through cracks, joints and pipe entries, and stone cladding stains. Seal the basin with a cementitious waterproof coating, then fix tiles or stone with water-resistant products.
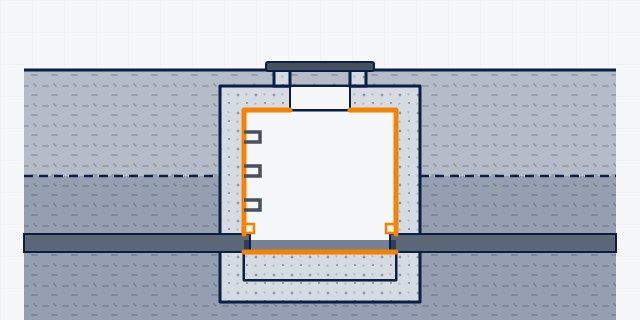 Sewage tanks, manholes & septic tanks
Sewage and wastewater structures leak out, let groundwater in and are eaten away by aggressive effluent. Plug and rebuild the concrete, waterproof it, and add a chemical-resistant lining where the effluent is aggressive.
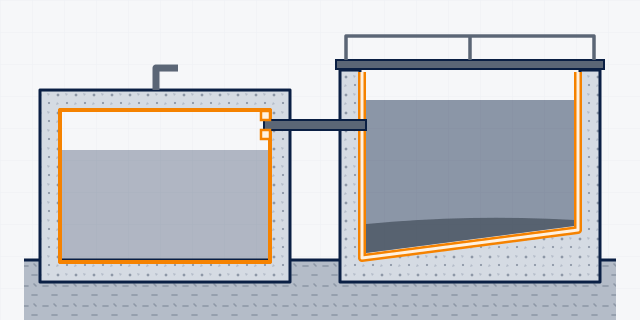 Water & wastewater treatment plants
Clarifiers, filter beds, clear-water reservoirs and process tanks need watertight concrete, sealed joints and the right lining for each water type. Drinking-water compartments take only products approved for potable contact.
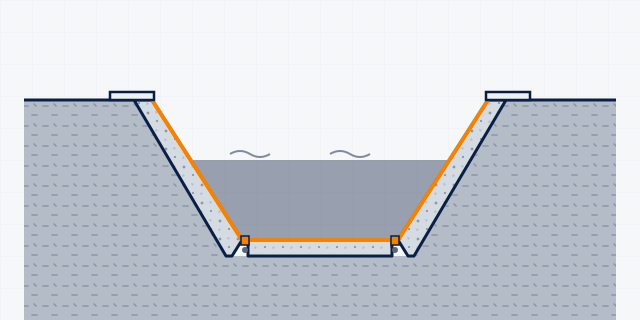 Canals, channels & open drains
Irrigation canals, water channels, nullahs and storm drains lose water through cracked lining, open joints and eroded concrete. Repair the lining, waterproof it, and seal joints with sealants made for submerged use.
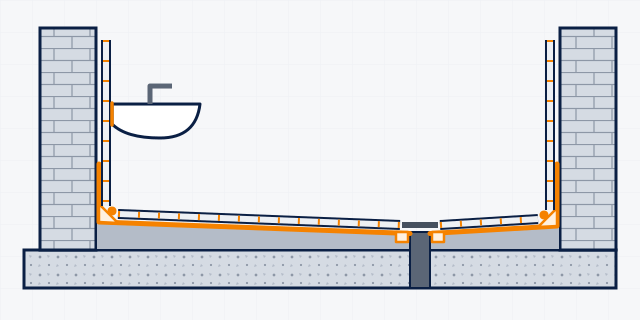 Bathroom waterproofing (under tiles)
Most home leaks start in bathrooms: water gets through grout and cracks, runs along the slab and shows as seelan on the ceiling below or the wall next door. Strip, seal cracks, waterproof the floor and lower walls, then tile, grout and seal the fittings.
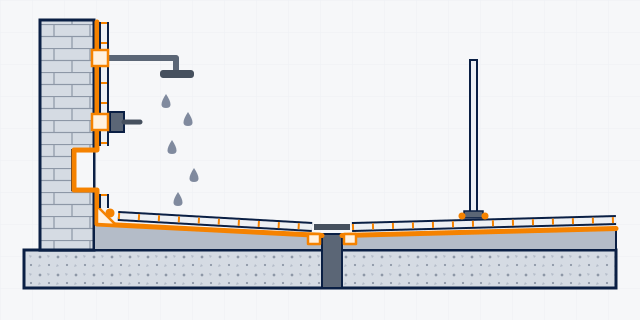 Shower area & walk-in shower
The shower is the wettest spot in the house: floor, walls, niche and drain are soaked every day. It needs a continuous waterproof layer from floor to wall, epoxy grout and a mildew-resistant sealant at every corner.
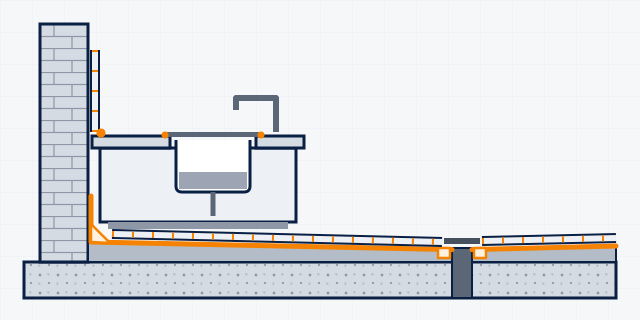 Kitchen floors, sinks & wash areas
Kitchens get water, grease, food acids and cleaning chemicals at the sink, dishwash and cooking line. Home kitchens need sound tiling and mildew-resistant sealing; commercial kitchens also need waterproofing under the tiles and chemical-resistant epoxy grout.
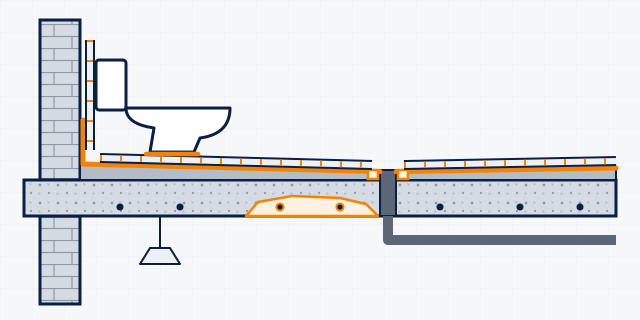 Toilet or bathroom leaking into the ceiling below
Seelan, drips or falling plaster on the ceiling under an upstairs bathroom. Find the source, fix it from the bathroom side, then dry and repair the ceiling slab below.
 Wall tiling (rooms, kitchens and bathrooms)
Fixing ceramic, porcelain, mosaic and marble tiles on internal walls. Choose the adhesive by the wall behind the tile (cement plaster, concrete, brick or gypsum) and by whether the wall gets wet.
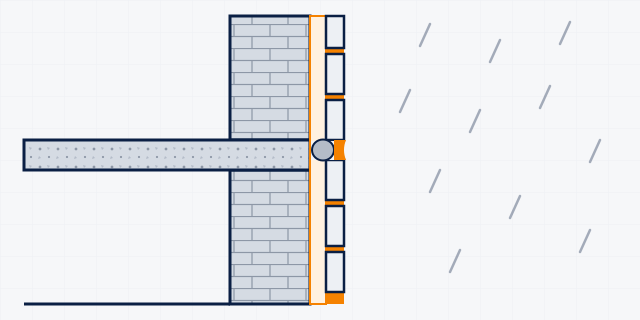 External wall and facade tiles
Ceramic, brick-slip and stone-look tiles on outside walls face sun, rain and building movement. Use an adhesive whose data sheet allows outdoor walls, grout for exterior use, and seal the facade movement joints.
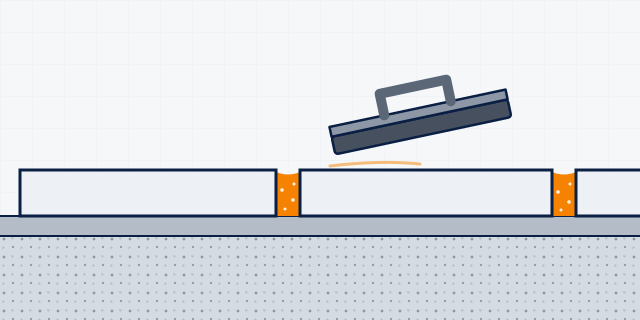 Cement tile grout (everyday floors and walls)
Coloured cement grout for ceramic, porcelain, marble, granite and mosaic joints, on floors and walls, inside and outside. In wet areas it is mixed with a latex instead of water.
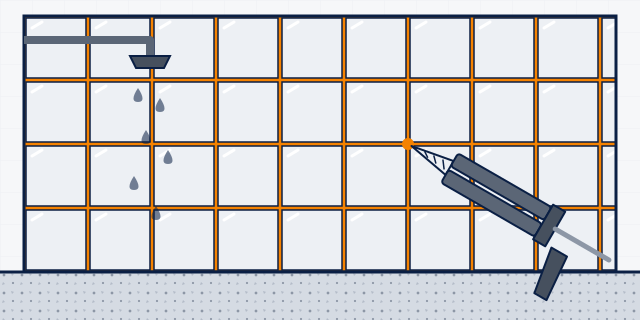 Epoxy tile grout (showers, kitchens, hospitals)
Two-part epoxy grout from a cartridge gun gives stain-resistant, easy-clean joints in wet rooms, kitchens, malls, hospitals and indoor pools. It is for interior use, and the tile face needs protecting during grouting.
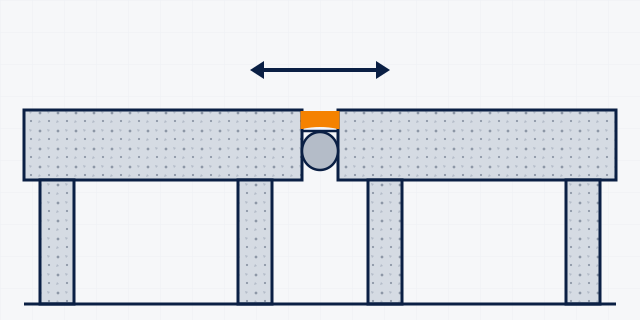 Building expansion and movement joints
The gaps between building blocks, slabs, walls and roofs that let the structure expand, shrink and settle. They need a sealant or tape matched to the movement, a correctly sized joint and a backer rod, or water gets in and edges break.
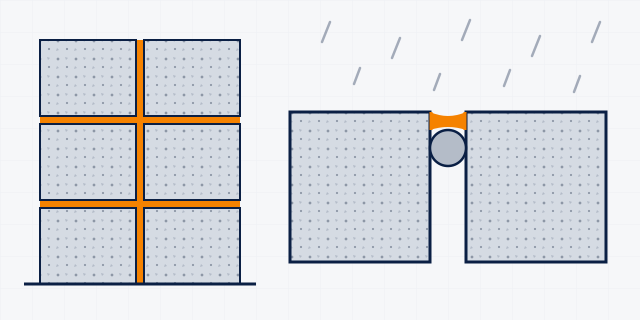 Facade joints (concrete, block, precast and cladding)
Movement and connection joints on outside walls: between precast panels, at floor slabs, around infill panels and in metal or stone cladding. A sound joint keeps monsoon rain out and lets the facade move.
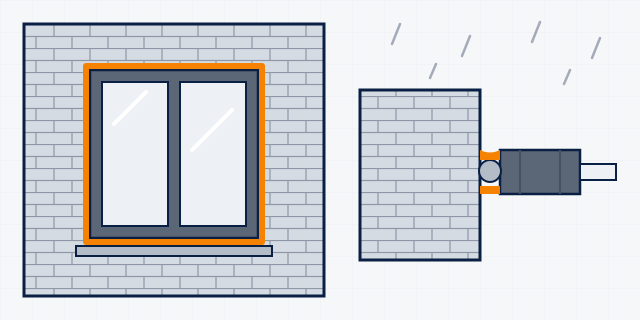 Window and door frame sealing
Sealing the gap between aluminium, uPVC, steel or timber frames and the wall, plus glass-to-frame and interior finishing joints. This is a common place for monsoon rain to get into a home.
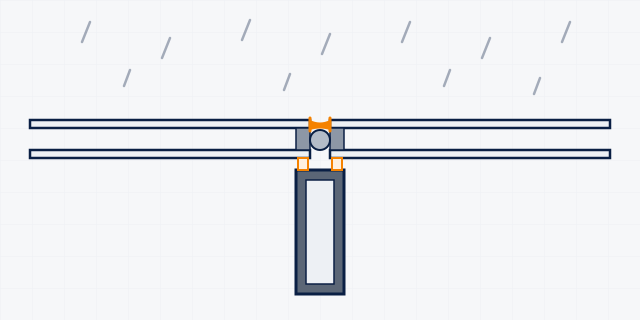 Glazing, curtain walls and shopfronts
Weather-sealing joints in glass curtain walls, windows, shopfronts and metal cladding, and the specialist silicones used in structural glazing and insulating glass. This is professional facade work and needs project-specific adhesion tests.
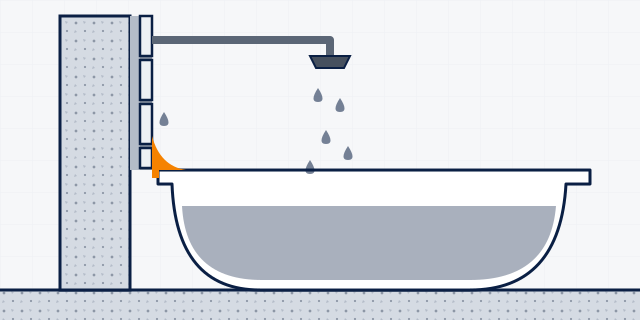 Sanitary sealing (baths, basins, showers and kitchen tops)
Silicone joints where tiles meet baths, shower trays, basins, WCs and kitchen worktops. Choose a mildew-resistant sealant that suits the surface, and reseal before water gets behind the tiles.
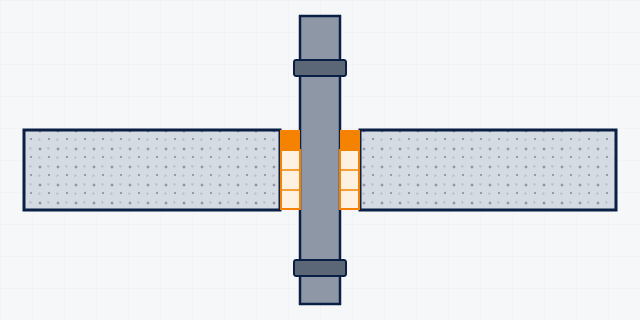 Pipe and service penetrations
Pipes, ducts and cables passing through basement walls, tank walls, roofs and fire-rated floors are weak points for water and fire. Seal each one for its job: watertight, weathertight, fire-rated, or a simple interior gap.
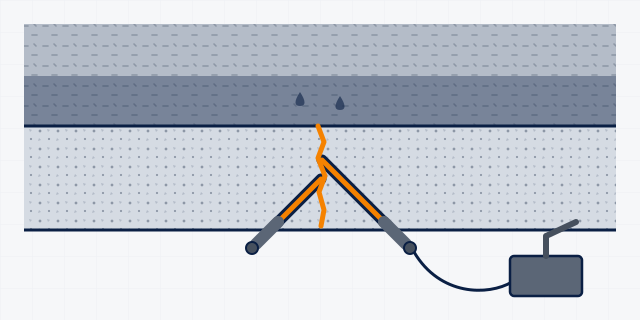 Leaking cracks & active water seepage
Cracks and holes that let water through basement walls, tanks, roof slabs or retaining walls. First stop running water, then seal the crack with elastic injection, then waterproof the surface; rigid epoxy is not used while a crack is wet.
 Surface & plaster cracks (non-structural)
Hairline and map cracks in plaster, renders and concrete surfaces, mostly from shrinkage and heat, which let rain in and spoil paint. This guide covers telling them apart from structural cracks, filling them with the right sealant, and preventing them in new plaster.
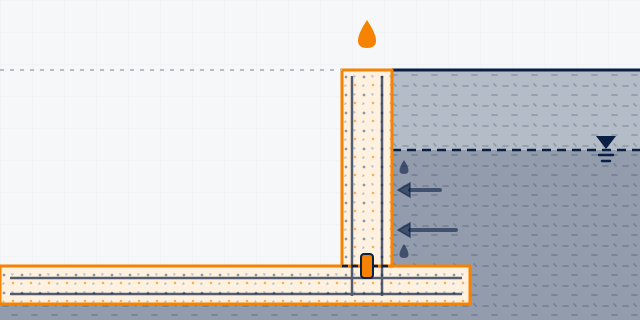 Waterproof (watertight) concrete
For basements, water tanks, pools and sewage works, make the concrete itself resist water with a low water–cement ratio, an integral waterproofing admixture and sealed construction joints. This is for new pours; it cannot fix a structure that already leaks.
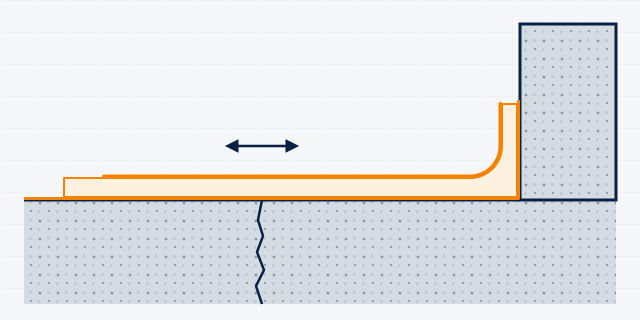 Polyurethane & elastic floors
Polyurethane floors are tougher and more flexible than epoxy, can bridge fine cracks and, with the right seal coat, resist UV. Use them on crack-prone slabs, for comfortable decorative interiors, on balconies, and as PU-cement screeds where heavy wear and heat occur.
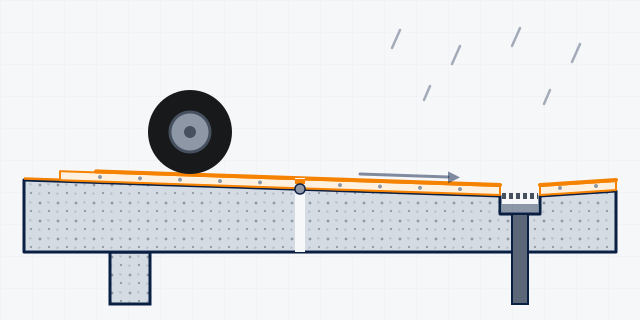 Car-park decks & ramps
Car-park decks face tyre wear, oil, water and, on the open top deck, sun and monsoon rain. A crack-bridging resin system with a UV-resistant seal coat and sealed joints protects the slab and the floors below.
Send us the condition, the area and the surface. Your selection is already in the message.